How to host a Nextcloud server without public IP or port-forwarding with Docker and Zerotier
Table of Contents
Introduction
This guide is primarily targeted at people that want to synchronise files between their devices and are not satisfied with cloud storage like Dropbox and Google Drive. Cloud storage might be easy but there are a couple drawbacks. The following reasons will probably resonate with you:
- Privacy: you want to keep the data in your own possession.
- Limitations: you need the ability to store as much as you want in as many different ways as you want.
- Price: cloud storage is too expensive. A hard drive will last you multiple years with a price of around 100$ for 3TB while cloud storage will cost way more if you pay per GB.
- etc…
This guide will ensure that all files are encrypted while in transit over a network and also when stored on the machine where you will run the Nextcloud server(this can be your laptop). One drawback is that the transfer will be done through Zerotier’s servers. While their client is open-source (the source code is available on Github), the back-end is not. A solution to this is enabling HTTPS but that’s an additional step which I won’t discuss in this guide to keep it simple and because Zerotier has a good track record with being transparant.
Connect everything!
As mentioned above, all the traffic goes through Zerotier. Zerotier creates a software-defined network, this means you can connect to any device you have, anywhere. As long as it is connected to the internet somewhere it will find it and it will be the most direct way by trying to route traffic peer-to-peer.
Registration
To get started with Zerotier, you must register an account. This can be done by going to the website and clicking the “create account” button. 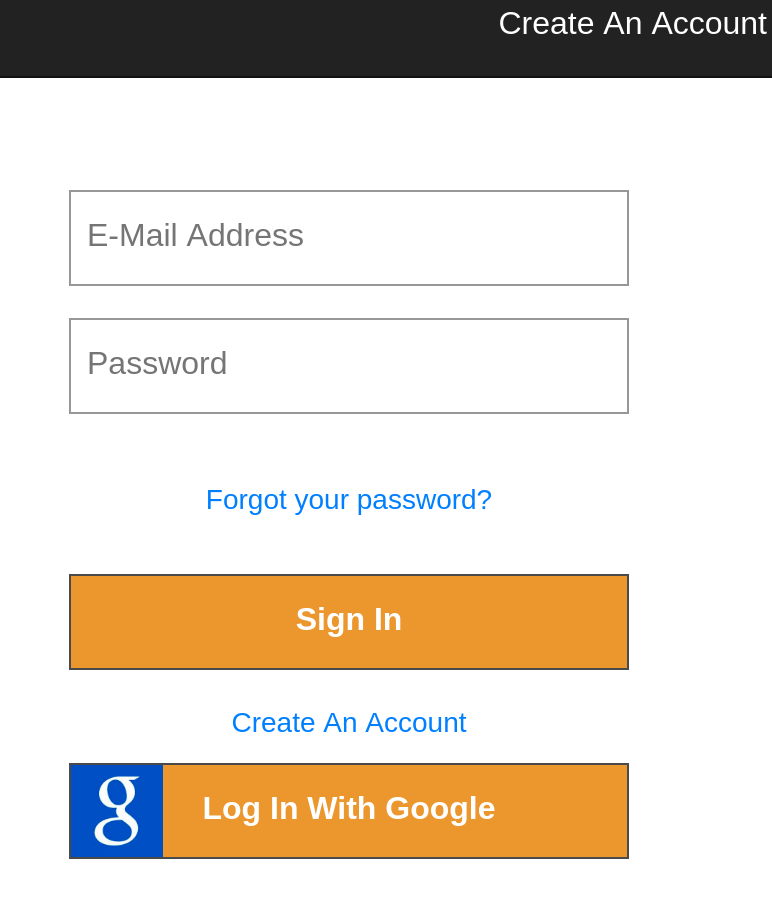 Enter an e-mail adres and a password or use your Google login and you’re set to go. You don’t need to give any payment options because Zerotier is free up to 100 devices.
Your Own Private Network
For security’s sake it’s best to create a private network and then you can manually approve devices that wish to connect to the network. So start by clicking “Networks” at the top.
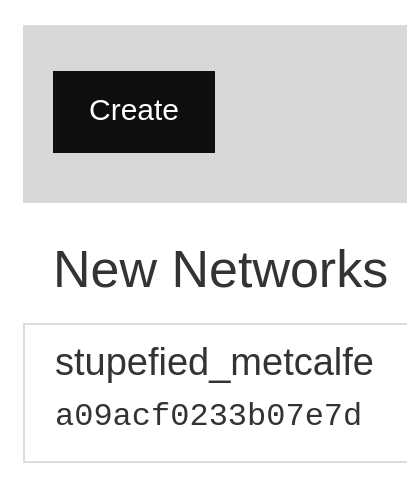
 Here you will see your created networks, which should be none.
Click “create a network.” You can see an easy-to-remember word-combination, it’s similar to the way that Docker names its containers and also an ID that you will need to connect to this network from all your devices.
Once you click on it, it will automatically bring you to the settings page for that network, the default settings will fit most use cases. It’s important that the network remains private so that nobody else can get access to it.
 This will mean that you need to manually accept every new client that tries to connect to this network.
The subnet settings should be fine for all your clients but don’t forget to “add” a static IP to the computer that you will use to run the Nextcloud server. That IP shouldn’t change or it will create a lot of work. Use an IP that’s in the same subnet range.
This will mean that you need to manually accept every new client that tries to connect to this network.
The subnet settings should be fine for all your clients but don’t forget to “add” a static IP to the computer that you will use to run the Nextcloud server. That IP shouldn’t change or it will create a lot of work. Use an IP that’s in the same subnet range.
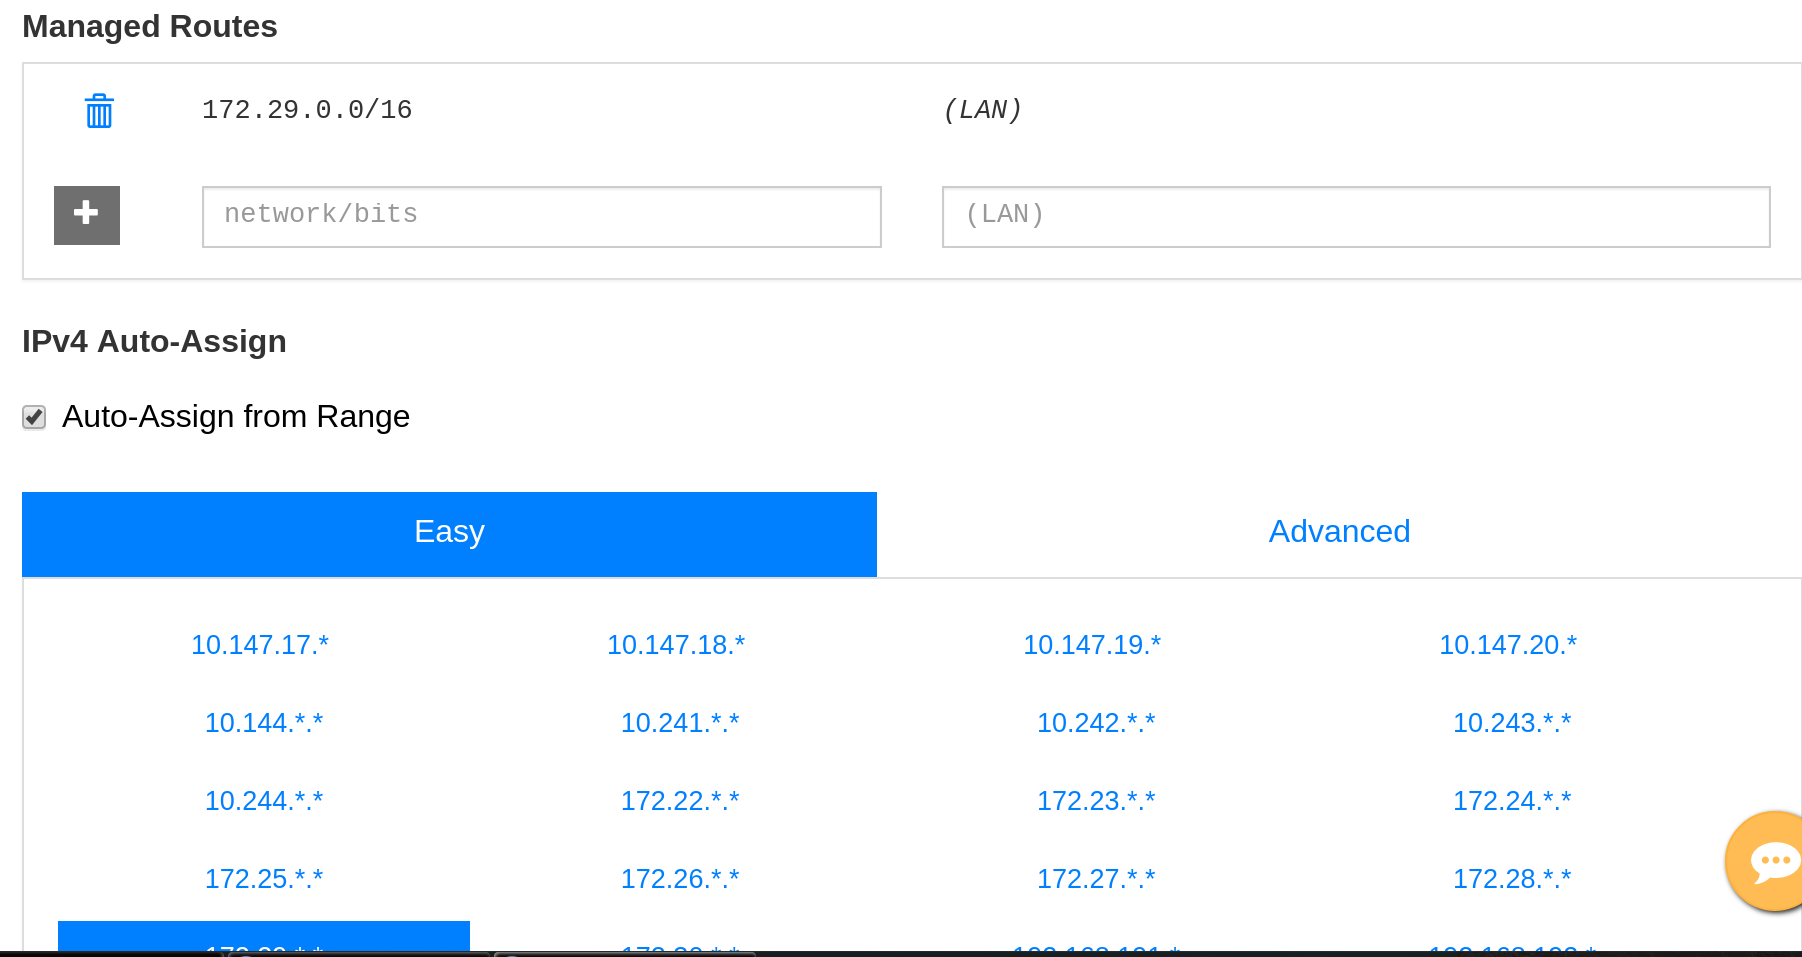
For 10.0.0.0/24 I used 10.0.0.9 as IP but it’s recommended to use the one Zerotier assigns.

Zerotier One
Zerotier has a client for most operating systems, you can even use Docker. Look at their client page to download the right one. When the client is installed on a device, you only need to open the application once, type in the channel ID and click join.
Don’t forget to allow the device in the Zerotier dashboard. (checkmark to the left)
Nextcloud
Nextcloud Server
Installation
The fastest way to get up and running is using Docker in combination with Docker Compose. The official installation guides are different depending on your operating system and can be found on the Docker website. For Docker Compose you can look at the Compose section
Docker Compose file
A docker-compose.yml file is a configuration file for Docker Compose, I have created one that you can download and use, click here to get it. It uses MySQL as a database and your current directory to store the server files. The database password is defined as MYSQL_ROOT_PASSWORD. You can change all this before running the server of course.
It’s best to put this file on a second hard drive if one is available, this way you have a “backup” when the client synchronises to your home folder.
To start everything go to the folder that contains the docker-compose.yml file while in a terminal and simply run it with Docker Compose.
docker-compose up -d
Configuration
Now go to localhost in your browser.
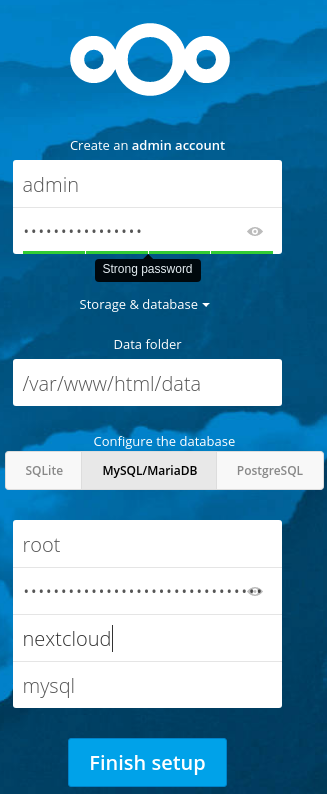
When you first go to your newly made Nextcloud, you will get a welcome screen where you can create a new account. By default, it tries to make the process as easy as possible. It accomplishes this by using SQLite as the database which is basically a small file. It’s very easy to use but not very good for performance so that’s why we’re using MySQL instead. Because we’re using Docker, this is almost no work at all.
Click “Storage & database”.
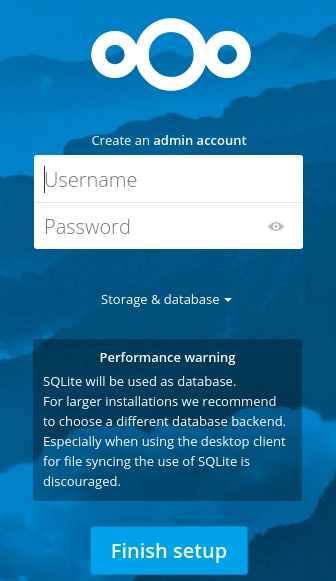
Now choose a new user and select “MySQL/MariaDB”. The login to the database is root and the password is the one you set in the docker-compose.yml file.
The database name can be nextcloud or something else, it doesn’t really matter. The hostname is simply mysql, as defined in the docker-compose.yml file.
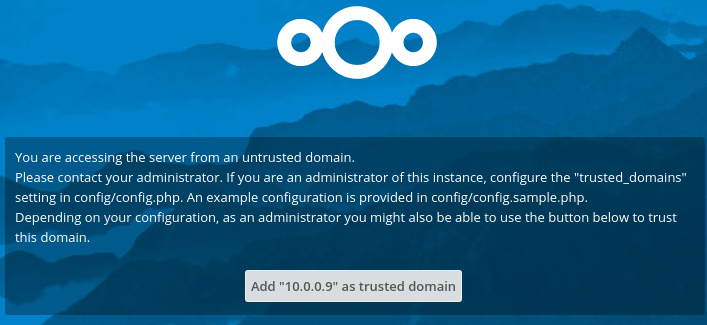
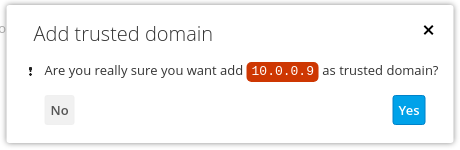
By default the only trusted domain is localhost so while logged in go to the static Zerotier IP if you have set it, or do it later. Then you will get the option to add the IP as a trusted domain and all your other clients will also be able to use this IP from now on.
Click the confirmation button.
Encryption
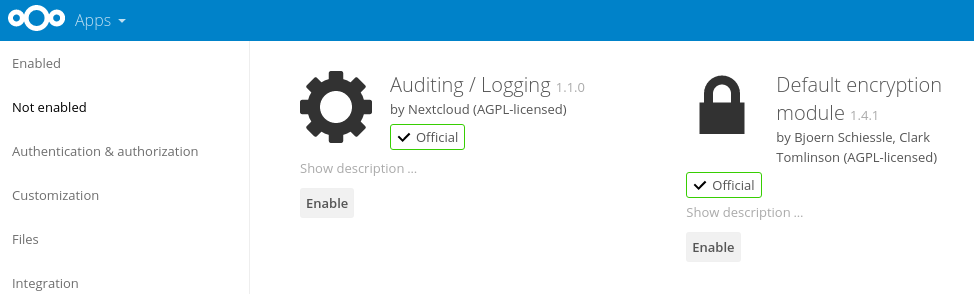
Nextcloud has support built in for encryption but you need to enable it yourself. First click the left-top button and then apps. This will show all apps, click on the left side on “not enabled” and Default encryption module should show up on the top. Simply click Enable to enable it.
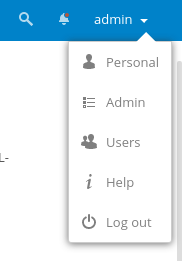
Now the app is enable but it’s not setup yet. Secondly click the top-right button and then Admin for admin settings.
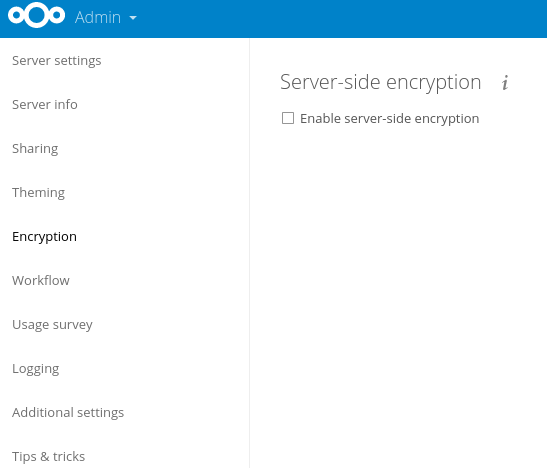
Go to the Encryption tab on the left and click “Enable server-side encryption”.
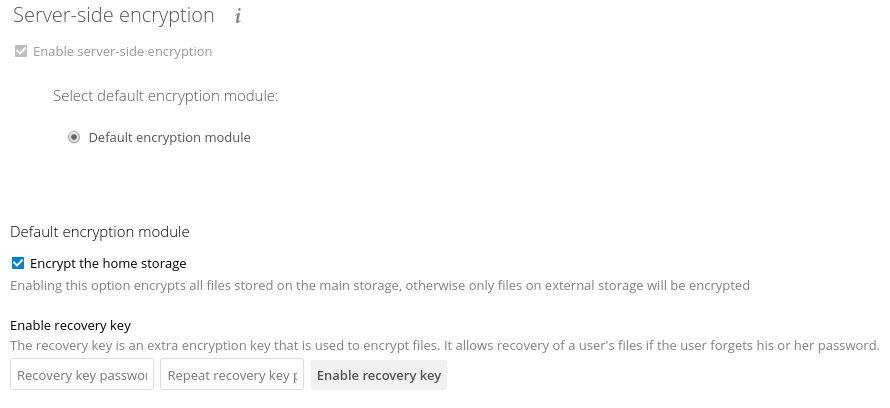
It will now show a couple warnings that describe the risks when using encryption, click “Enable encryption” to confirm.
The final step is logging out and back in, you should now see that the encryption module is enabled.

Nextcloud Clients
Now install the Nextcloud client on your devices and connect to all your devices by using the static IP that you configured in Zerotier.
Next steps
The fun doesn’t stop here, Nextcloud has over 70 different applications, ranging from contacts management to agenda sharing so explore away.